 720-427-4477
How do I Install Windows?
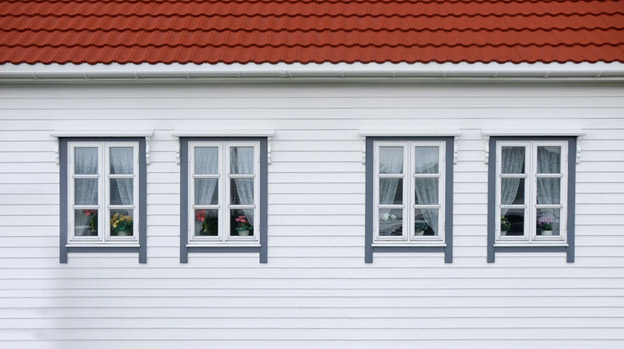
If your windows are broken, warped, or dated, you may need to perform a new window installation. Follow this quick DIY guide for replacement windows.
Measure for the New Window
The first step of window installation is to measure the window space to ensure that your replacement window properly fits into the opening. You’ll need to measure the width and height of the window jamb. Using a tape measure, measure at the bottom, middle, and top of the jamb, both vertically and horizontally. Keep the smallest matching measurement so that your replacement window will fit. You can always fill in any gaps later.
Loosen the Trim and Stops
To take out the current window, use a smaller tool like a utility knife to delicately remove paint along the window frame and loosen the trim. Once the trim is removed, you’ll be able to use a larger tool like a pry bar to take out the window. Be sure to save all window stops for later use if possible.
Prep the Area
There may be sash cords or chains present due to some older window types. Simply remove these or tuck them away into their pockets. Next, allow the outside sash to slide down and remove the vertical strips, or parting beads, that keep the sash secure. To prepare for the new window installation, clean any debris, sand splintered areas, and fill any holes or damage with putty or insulation.
Dry-Fit and Shimming
Dry-fitting allows you to see if there are any issues with the fit of the new window. Set the new window into the opening and make sure the shims will properly fit and mark these areas. Shimming is a process that ensures your new window will have a perfect fit. You can achieve this by wedging wood or plastic shims along the edges of the window gap, tightening the gaps around the window. This helps to accomplish a weathertight window.
Install the New Window
Once your window is dry fit and all shims are in, it’s time to finish installation. Use a sealant around the sill to caulk it and place the window inside the opening. Square out the window using your shims, but don’t knock them in flush in case you need to remove them and start over. Your new window should include mounting screws, which you can screw in around each jamb. Fix the header in place so that it removes gaps between the frame and new window.
Test and Finish Shimming
You can test your new window installation by sliding the sashes to make sure they aren’t too tight. Adjust any screws for easier window operation if needed. Too tight shims may also keep your window from operating properly. If this is the case, knock out your current shims and replace with thinner ones. Otherwise, knock the shims in and trim with a saw if needed. Be sure to caulk again inside the window and install any stops you saved inside with smaller finishing screws.
Denver Window Installation
The DIY window installation route can be confusing and difficult for beginners. If you’re unsure of how to install a window on your own, contact a trusted Denver window installation company to do it for you. With years of experience and dedicated service, our team is happy to help guide you through the process of window installation and replacement.