The Window Installation Process: Step By Step
If you’re looking to install a new window into your home for the first time, read this break down of the steps so you can fully grasp what exactly you need to do in order to install your new window! Although, there is no shame in calling a good Denver window company to install your windows to ensure a safe and accurate installation.

Remove Trim & Casing
The first thing you’ll want to do is use your pry bar to remove the trim and jamb extension from around your old window. The extension is simply just a piece of wood that’s been ripped down and attached to the window jamb to make it even with the wall.
Remove Old Window/Guide Track
Unscrew the window from the jamb and remove it. Be gentle as to not break the glass while removing. Most windows will have multiple window sashes with tracks that allow them to move on their sides. If this is the case, it would be easier to remove those types of windows one sash at a time.
Prep/Repair New Window Opening
After removing the window from the wall, you should inspect the type of condition the window jamb is in to rule out structural damage. While it’s not uncommon for an older window to leak, causing rotting to the jamb, you’ll have to end up replacing or repairing any damaged areas before moving on to the next step. Your rough opening should measure ¼” to ⅜” larger than the exterior dimensions of the new window.
Replace Window Stop
This one is simple– inspect your window stop to see if it needs replacing; in that case, replace it or repair it. If you are having trouble you can consult someone who specializes in Utah window replacement!
Dry Fit Window
You’ll want to do this before you apply silicone to the window stop to ensure the fit is snug and perfect! Don’t move forward to the next step until you are satisfied with the window’s fit.
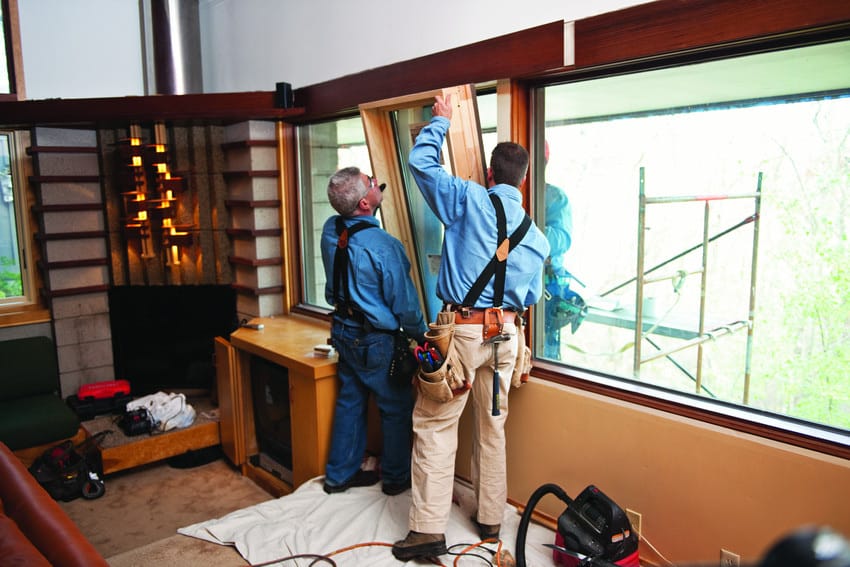
Install Window
If you aren’t comfortable doing this yourself, you can call a Utah window installation company to do it for you! Just make sure your measurements are correct and the window fits nice and snug to ensure the highest quality installation. Apply silicone evenly around your opening. Gently install your window into your opening and check for gaps, openings, or holes.
Add Insulation
Insulate any gaps around the window area. You can use expanding spray insulation foam or regular insulation.
Add Extension Jambs & Trim Molding
Match your molding style to your home’s decor and create a frame around your newly installed window. Measure each piece and use a miter saw to cut the trim. Attach the trim with a few finish nails.
Paint & Add Finishing Touches
Your final step is to finish off your window framing by filling nail holes with paintable wood putty, and to paint or stain your trim molding around the window for that finished look!

 720-427-4477